Monday, April 16, 2007

Trifold Card

Wow! This is a really fun style of card to make. Following Beate's tutorial on Splitcoaststampers, makes each step easy. Basically, the process goes like this. Cut a piece of cardstock to 3.5" by 10.5". Score it 3.5" in and 7" in from the left side. This gives you three equal panels. Score diagonals on each of the side panels, making sure they go in the same direction. Fold one square panel in, and then the triangle up. Then, fold the other square in, and then the triangle down. Add your decorative panels and images, and tie it all up with a ribbon. It's so simple and quick! Beate's tutorial (linked above) is much more detailed and shows step by step pictures, so I recommend reading the tutorial if you plan on making one.
I was inspired by my red and white floral designer paper. I love red and white as a color combo, but I don't typically use it. For some reason, I tend to stick to a softer color pallet. Anyway, I thought this was the perfect excuse to do something a little bit bolder. I used two layers of white Heidi Swapp flowers for my center image. Then, I added orange stickles to the inside of the flower. Stickles are a sparkly glitter glue, are acid free, and are really easy to apply to cards and scrapbook pages for accents. The interior of my card has the small flower image from Stampin' Up!'s Delight in Life set. I stamped it in Ruby Red ink, which matches my Ruby Red cardstock base.

Friday, April 13, 2007

Argyle Inspiration


The layout for this card came from the Sketch Challenge at Splitcoaststampers this week. It had lots of layers, which always means a fun and challenging card-making experience for me! As I went down to the basement to work on the card, I really didn't have any particular color or image scheme in mind. But, when I saw my argyle ribbon laying there, I knew I just had to use it! The ribbon inspired the color scheme and the image choice. The colors reminded me of a 40s or 50s coffee shop, so I used the "Like it a Latte" stamp set for my images. I used Stickles (glitter glue) to make the foam, straws, heart, and outline of the mug sparkle.

Wednesday, April 11, 2007

Fickle Mother Nature


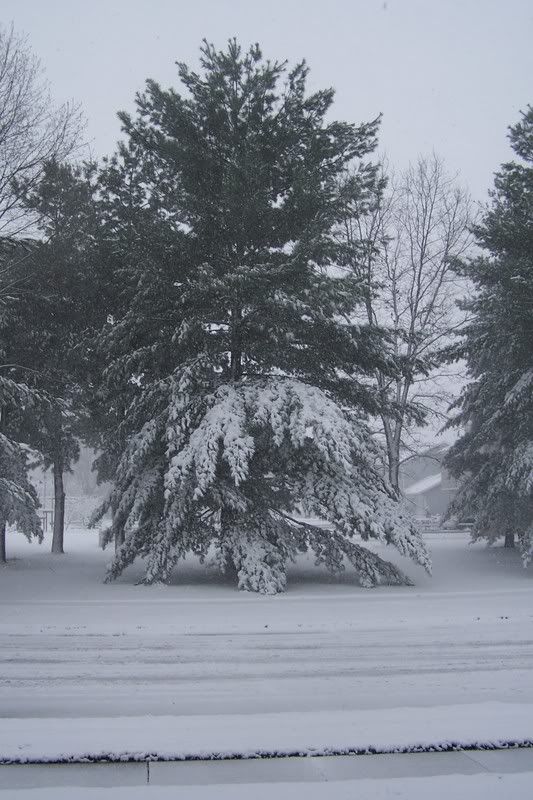
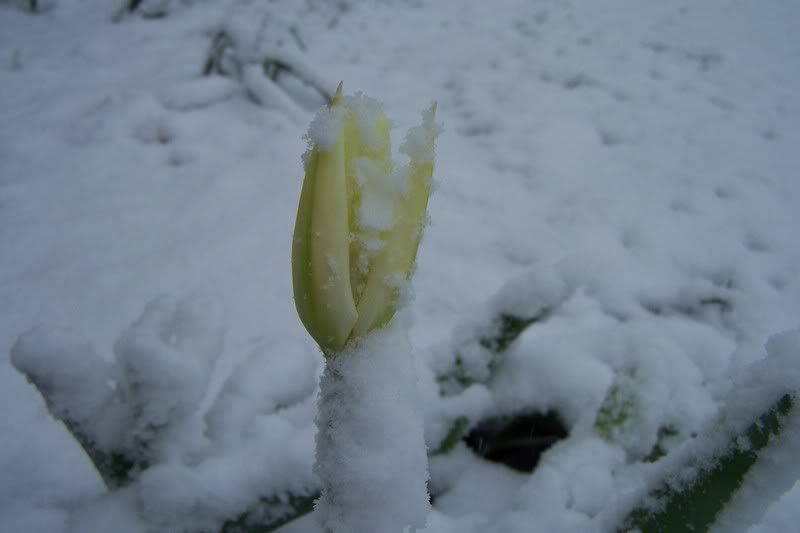
This morning was a real shocker. I woke up to a blanket of really heavy, wet snow on my lawn, garden, and trees. Snow alone really isn't all that bad for the plants. It can actually offer plants some protection from cold air temps. Today, however, wasn't really all that cold. It was around freezing, so everything is really wet and slushy. We've also been getting sleet, which is no fun either. On the plus side, I think the snow is absolutely gorgeous, and I do love images of snow on plants and flowers.

Tuesday, April 10, 2007

Coffee beans

This card uses two similar techniques, masking and reverse-masking. Masking is a simple technique that allows you to use only part of a stamp for your image. It's handy for layering images in front of one another. In this case, I masked the interior of the coffee cup. I did this by stamping the coffee cup on a scrap piece of paper, cutting the center out, and using that center cut-out to "mask" the center of the stamped image on my pink cardstock. So, when I stamped it, it only showed the outline of the coffee cup. Then, I did reverse masking. I used the other part of the scrap paper that I cut (which had the outline of the cup on it), and used that as a reverse mask. It basically covered the outline of the coffee cup on the pink cardstock, so I could fill in the center with something else. I filled the center with Creamy Caramel sponged ink, and then with coffee beans in Basic Brown. It's a fun technique that I'm sure I'll be using many times over again in the future.

There's an excellent tutorial by Beate at Splitcoaststampers. It shows pictures of how to do this fun technique!
Reverse Masking Tutorial at SCS

Monday, April 9, 2007


I've been out of town for a few days, but I'm back home and crafting again. Unfortunately, I can't do anything in the garden since it's so cold and snowy again. But, that gave me a little time to stamp this evening.

Today's challenge at SCS was to CASE (copy and change a few things) a card of a fellow stamper named HB. She had many gorgeous cards in her gallery, but when I stumbled on her fishy card I knew it was the one I would choose. You see, I just got an order of Stickles (glitter glue) in the mail the other day, and I thought a fish card would be the perfect excuse to use them! So, I got to work making a similar card. I changed a few of the stamps and modified the tag. I also did sponging and doodling. It's a really cheery card, and it looks great in real life. The glitter looks a little funny in the photo, but it doesn't look that odd in person.

Tuesday, April 3, 2007

Cold weather 'a comin'

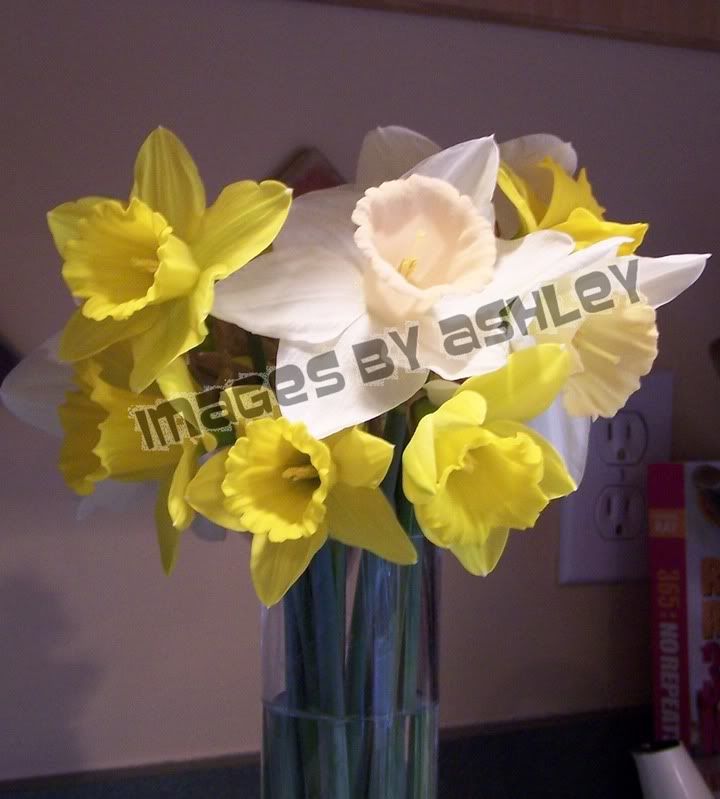
Well, this unusually warm, spring-like weather is about to end for us here in Northern Indiana. We are supposed to get severe storms this evening and snow by tomorrow morning! Compared with today, which is about 70 degrees, this will be a really frigid blast. I figured that my blooming daffodils will either be beaten by the storms this evening or ruined by the cold air, so I cut most of the ones that were already in bloom. I am leaving all the ones with buds and ones that don't even have buds yet, hoping that the freezing cold doesn't do any damage to them.

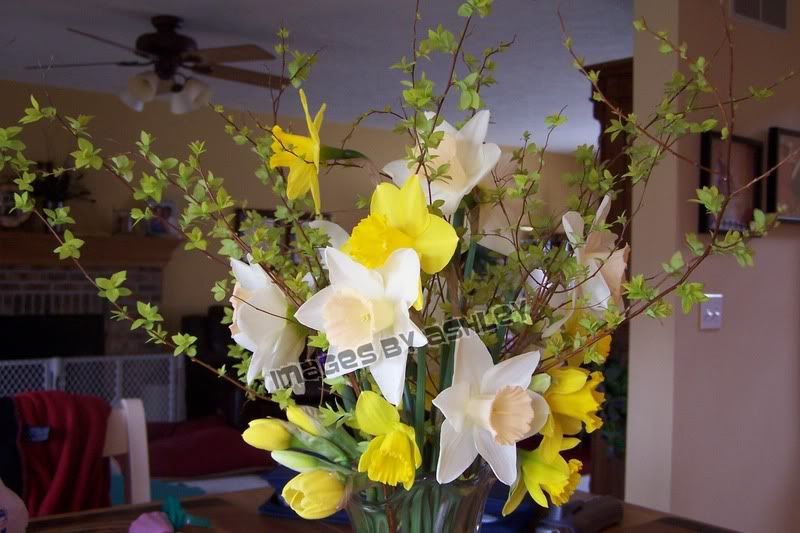
On the bright side of this all, I was able to bring some gorgeous daffodils inside for some springy flower arrangements. I even cut some spirea branches and used them to accent the daffodils in my larger vase. They are brightening up my kitchen, and giving me some hope that spring will return again.

Monday, April 2, 2007

Faux Shaving Cream


What a COOL technique this is! The challenge on SCS today was to make a card using the faux shaving cream technique. Basically, you take a solid image stamp (like Big Blossom on mine) and ink it up with whatever color you choose. Then, you take a smaller image, inked in a different color, and kiss the solid image with it. When you kiss it, you also swirl it a little. This give a really cool, almost tie-dye like, effect.

For my card, I used Big Blossom for the large image, and the medium flower from Paint Prints for the kissing. I used a brayer to ink my Big Blossom in Pretty in Pink ink. Then I kissed it with the Paint Prints flower in Perfect Plum. I used purple stickles to dress up the center of the flower. My background panel is Mellow Moss cardstock that was embossed with my Cuttlebug. I swiped the embossed areas with Perfect Plum ink. The base paper of my card is Perfect Plum.

This card was very fun and easy to make, and the faux shaving cream technique gives a really neat effect!