Showing posts with label splitcoaststampers. Show all posts

Friday, August 5, 2011

Simple is sometimes better!

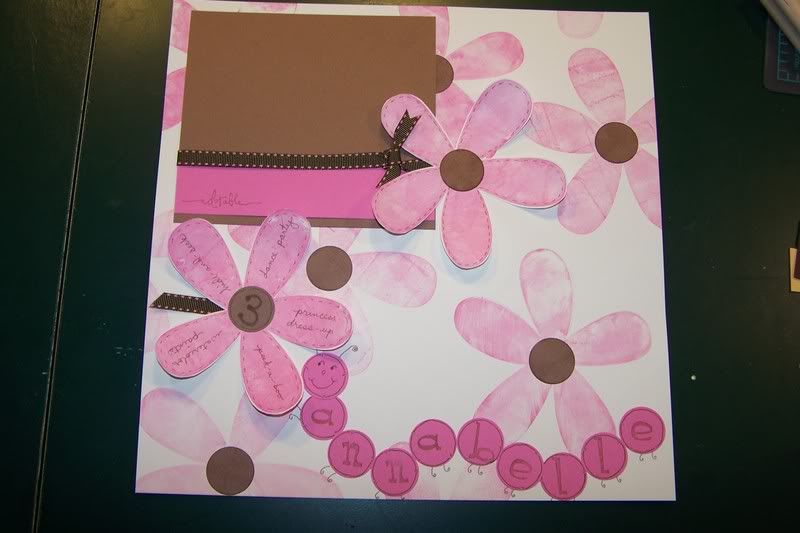
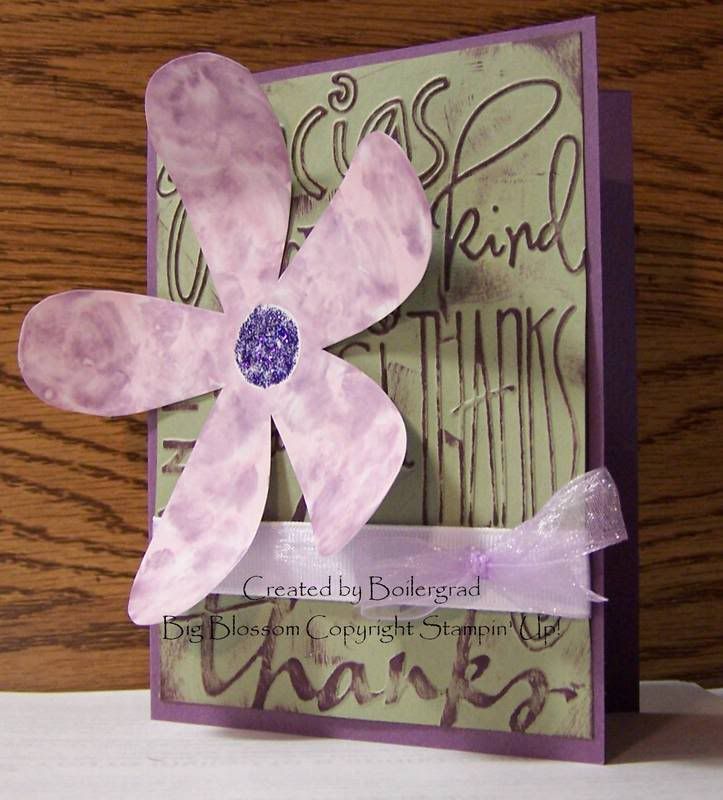
Here is an example of a very simple card that uses several techniques.  This is a one layer card using kraft cardstock.  I used scrap paper from flowers a different project where I had cut out flowers with the Cricut.  That scrap paper became my stencil for the flowers on the front of this card!  I simply laid the scrap paper down and sponged the flowers with Tulip ink.  It was very simple.  Then, I took a marker and added faux stitching to the edges of the flowers.  I sponged the edges of the card with Olive ink and used a sentiment stamp from the TLC set in the corner with Olive ink as well.  A few brads that coordinate with the Tulip ink add another special touch to the card.  

I made this card as a part of the Dare to Get Dirty challenges over at Splitcoaststampers.  If you would like to participate or get details on challenges or see other people's entries, head over to their website and join the Fan Club.  It is a blast!

Sunday, May 20, 2007

Not Flowers


This weekend was the Virtual Stamp Night at Splitcoaststampers. Virtual Stamp Night is actually an entire weekend devoted to fun challenges. There's a new one posted every hour. This month's VSN focused on flowers, and my favorite challenge from the weekend was to make flowers out of something that isn't a flower. We could use anything we wanted, it just couldn't have any actual flower shapes.

I chose to make my flowers from hearts printed with butterflies. The heart stamp is from Close to My Heart's "You and Me" set. I stamped it on Pretty in Pink paper using Ruby Red ink, repeating the same image in a circle to make it look like flower petals. Then, I cut out the entire heart flower and added a silver rhinestone to the center for a little sparkle.

I distressed the Certainly Celery paper with Certainly Celery and Old Olive ink. I simply rubbed the edge of an ink pad in a stripe down the paper. The Certainly Celery ink is supposed to be grass, and the Old Olive ink is the stem and leaves of the flowers. Then, I added the cut out heart flowers to the Certainly Celery paper using dimensional adhesive.

Tuesday, May 1, 2007

Stamps - an economical way to scrapbook


As any scrapper knows, paper and embellishments can get pretty expensive. But, if you use stamps to create your own backgrounds and embellishments, you can get a lot more bang for your buck!

The photo to the left shows an example of how you can make a really fun scrapbook page without spending a lot of money on extra embellishments. I used Stampin' Up!'s Big Blossom stamp to create the background flowers. Then, I added brown punched circles to the centers. You can see that I also made two Big Blossom images that I cut out and adhered to the page. I doodled faux stitching along the edges of both of these. On the far left flower, I put a 3 in the center and things my daughter enjoys on all of the petals. The caterpillar is made from circles punched from pink paper, and I used an alphabet stamp set to make her name. The caterpillar face, antennae, and feet are all hand doodled. The brown matting is where I'll be putting her photo.

The Big Blossom and alphabet stamps can be used over and over on many different pages, and you can achieve different looks with them by using different colors and stamp techniques. The initial cost of the stamp is often more pricey than the average scrapbook embellishment, but the amount of use you get from it makes up for it over time.

Here is an example of another way to use the Big Blossom stamp to achieve a very different look. This look is very easy using the "Faux Shaving Cream" technique, which is explained here:
http://stampsandflowers.blogspot.com/2007/04/faux-shaving-cream.html

Monday, April 30, 2007

Poppin' Pastels Part II


A few days ago, I posted instructions for the traditional Poppin' Pastels technique. Here is another way to do it using the same supplies (see supplies below). Ink your stamp with Versamark or Embossing Ink. Then, quickly turn your stamp over and apply the chalk directly to the stamp. You can color different parts of the stamp different colors. For example, in my photo, I colored the flower petals with Orchid Opulence chalk and the flower center with YoYo Yellow. After coloring the stamp, huff on it and stamp it onto your paper.

It gives you a similar effect as before, except you don't see the chalk on the paper around the image. You only see color on the stamped image itself!

Friday, April 13, 2007

Argyle Inspiration


The layout for this card came from the Sketch Challenge at Splitcoaststampers this week. It had lots of layers, which always means a fun and challenging card-making experience for me! As I went down to the basement to work on the card, I really didn't have any particular color or image scheme in mind. But, when I saw my argyle ribbon laying there, I knew I just had to use it! The ribbon inspired the color scheme and the image choice. The colors reminded me of a 40s or 50s coffee shop, so I used the "Like it a Latte" stamp set for my images. I used Stickles (glitter glue) to make the foam, straws, heart, and outline of the mug sparkle.